Get started with CanAI
Install the plugin, then pick how you want to build: by hand in the CanAI editor, or with an AI client over MCP.
1. Install & activate
- Download the latest zip from the home page (the Download button reads the live release from
info.json). - In WordPress: Plugins → Add New → Upload Plugin, choose the zip, then Activate.
- You should see a CanAI menu in wp-admin (All Templates, Welcome, AI Client, Settings, Tools).
If your host already ships CanAI as a managed install, skip the upload and go straight to Welcome.
2. Choose your path
Path A — Manual editor
Best when you want to write Twig / HTML / Tailwind yourself.
- Open CanAI → Welcome.
- Go to Tools → Editor, or open a page and use Edit with CanAI.
- Author HTML (Twig), CSS, and JavaScript in the tabs. Assign a layout template if you use one.
- Save, then Preview or view the public page.
Path B — AI client (MCP)
Best when an agent should create and edit pages for you.
- Open CanAI → AI Client → Connections.
- Generate an API key (label it, e.g. “Cursor — MacBook”).
- Point your MCP client at the site endpoint (
/wp-json/mcp/wpcanai) using the key. - Install skills:
npx skills add usewp/canai - Ask the agent to create or update a page; it uses the same abilities as the admin UI.
Welcome
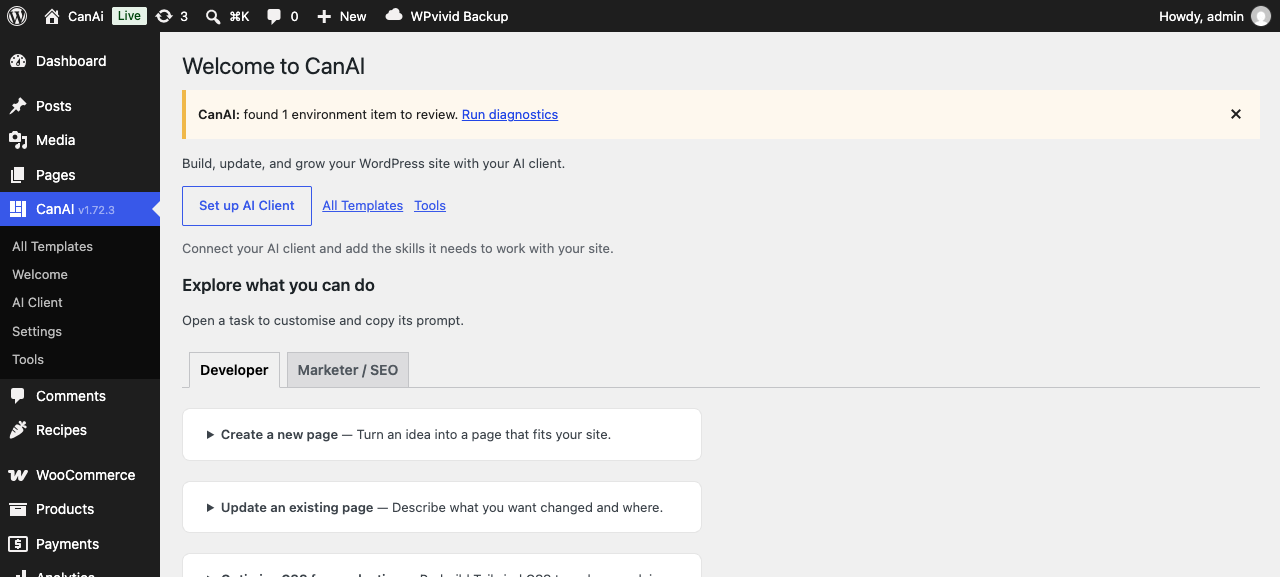
Welcome — jump to AI Client setup, templates, or Tools.
Manual: CanAI Editor
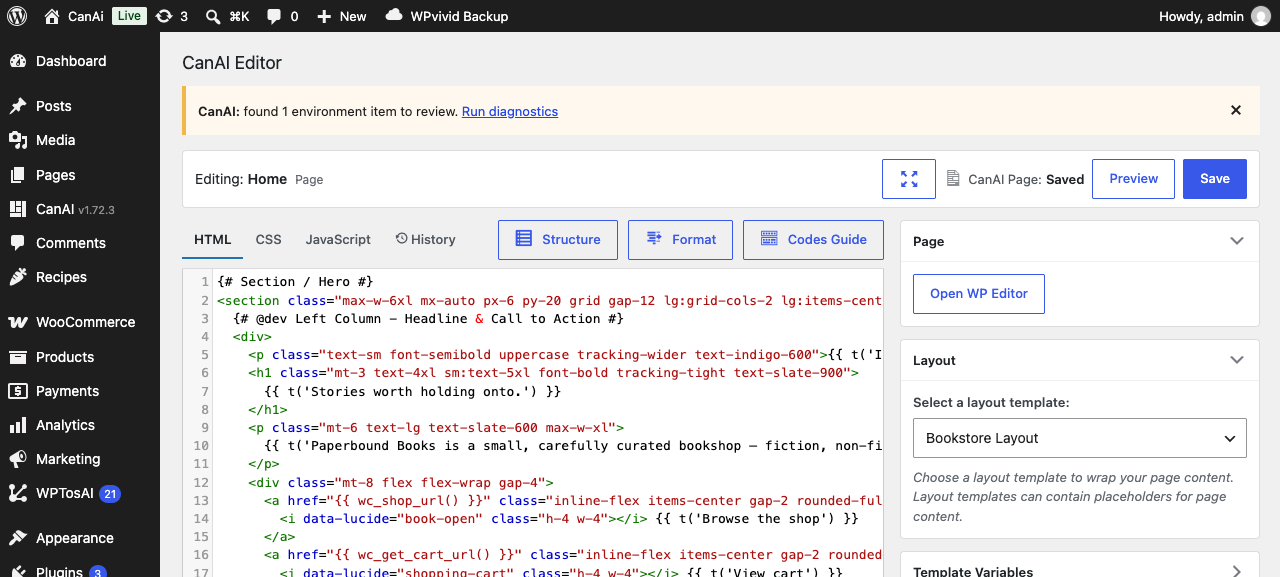
Editor — HTML / CSS / JS tabs, layout picker, Save and Preview.
AI: MCP connections
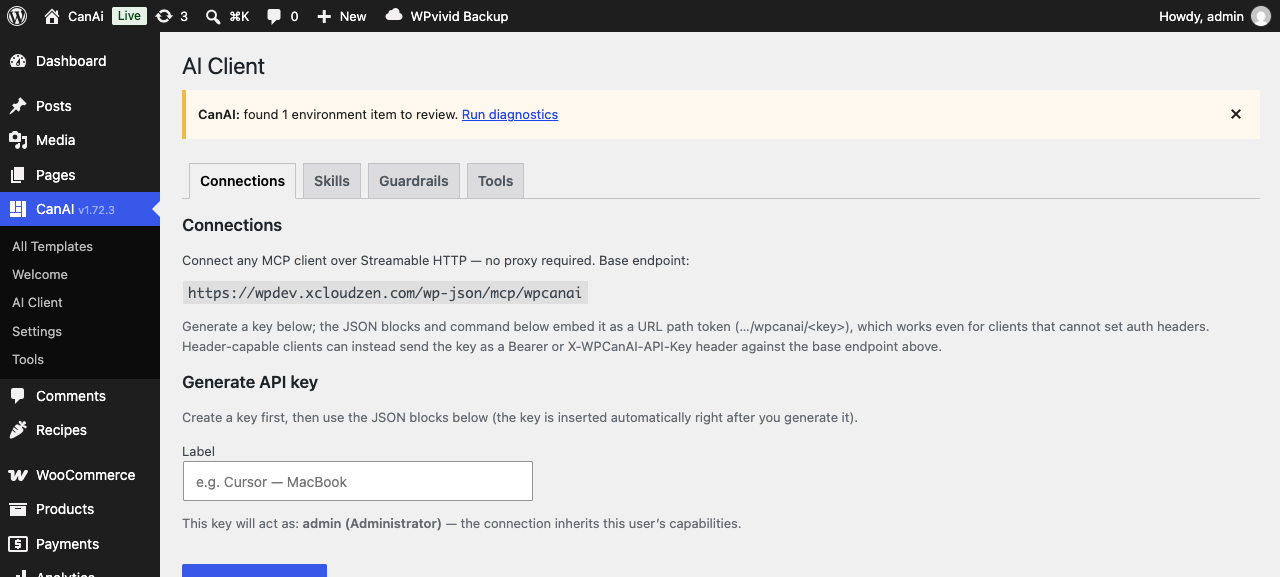
AI Client → Connections — endpoint URL, generate key, auth options.
3. See it on the front end
Open the published page. CanAI renders the full Twig + Tailwind + Alpine + Lucide stack (admin bar only appears when you are logged in).

Example frontend page built with CanAI.
4. Next steps
- Browse templates, WooCommerce types, sideload, and export/import in the full features guide.
- From Welcome, try the role tabs (Developer / Marketer) for ready-made agent prompts.